
This gallery contains 4 photos.
I felt I needed a counterpoint to the faithful restoration of my great-grandfather’s Victorian wooden and cane chair, so I have started re-upholstering a small armchair for my little boy.
It is currently covered in a revolting velour-style fabric which has stains all over it from its previous owner, but it’s a great shape and should be big enough for my son to use for two or three more years:

To begin with, I removed the cheap plastic feet and material from the bottom of the chair. I may replace the feet with wooden ones when I have got to that stage as I think they will look better.

Once the material was removed, I discovered that rather a lot of MDF had gone into this little thing, rather than the solid wood I was expecting. This is a very different beast to my other chair project:
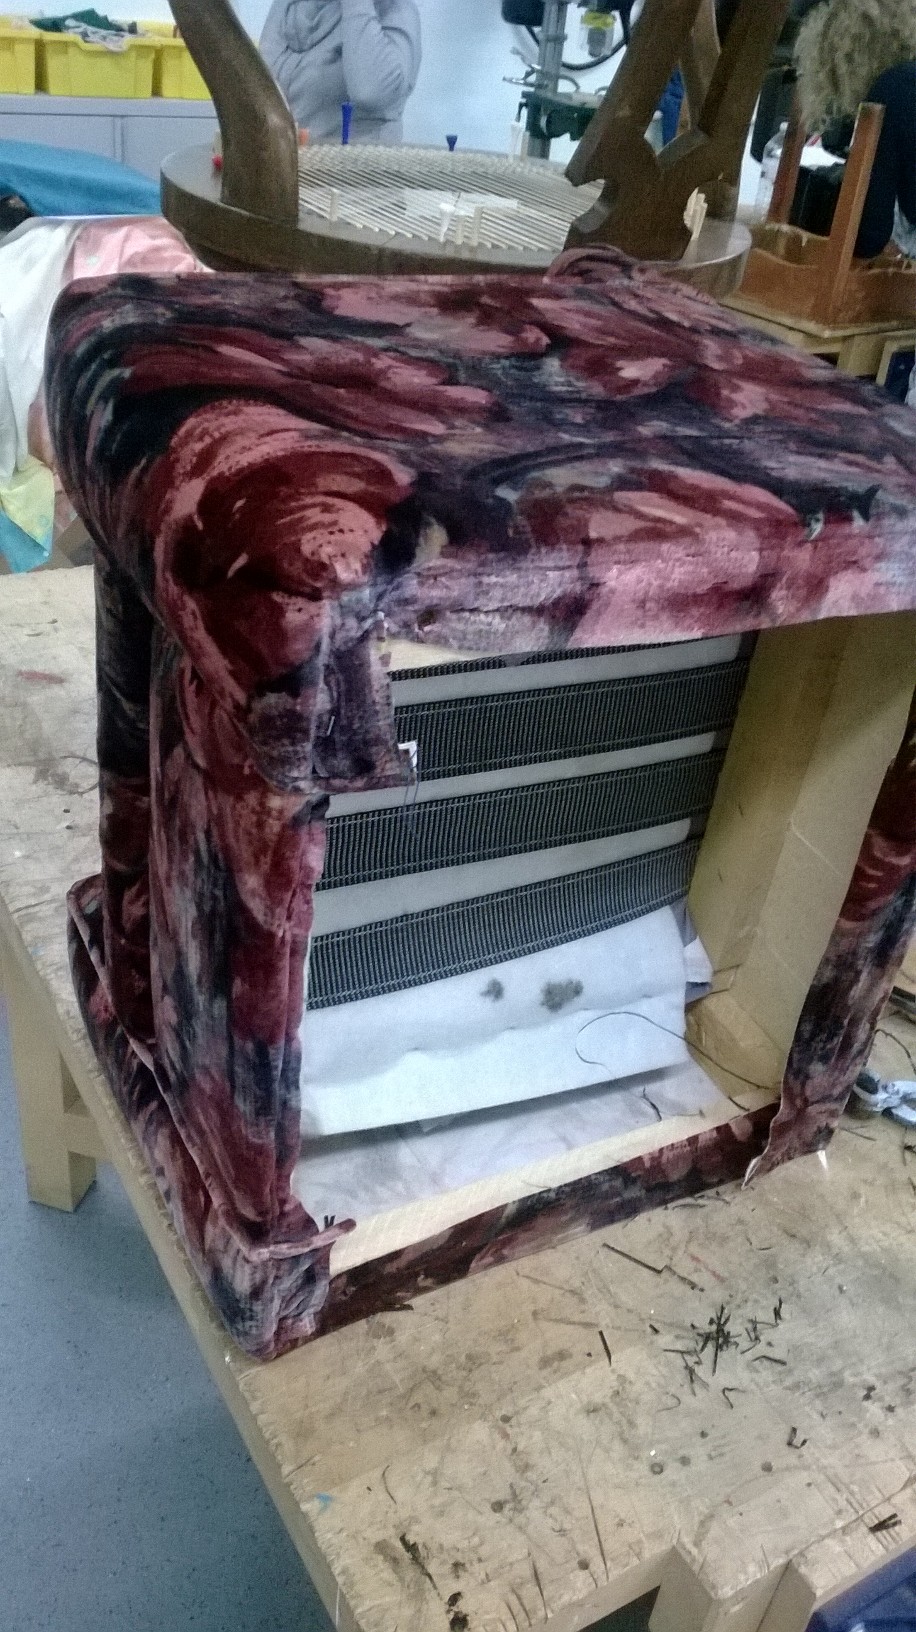
I am now at the stage where I need to remove all of the charming fabric from the back and sides of the chair.
It took me quite a while just to do the back as I was trying to lever all of the staples out in a stupid way that was hurting my hand. You can see the plastic feet in the bottom right of this picture:

When I get on to removing the fabric from the sides I will be much quicker; and hopefully the staples won’t fling all over the workshop when I get better at it. Perhaps they’ll even remain in the workshop and not drop out of my clothing when I am getting ready for bed after an evening of furniture restoration.
Unfortunately, this chair cannot move between the house and workshop like the other one can as I can’t guarantee that I haven’t left any lethal rusty staples sticking out of it. My son loves to sit in it and won’t understand why it’s dangerous. Well, he loves to sit on his other small chair (restored perfectly by his daddy) and put his feet up on this armchair, while playing his keyboard which he rests on the arms of the armchair.
Still, an upsetting staple incident could ensue and is entirely unwelcome; so for now, the chair lives in the car.
My boy never goes near my great-grandfather’s chair. I think the strange disappearing and then reappearing cane seat freaks him out a bit.
The next stage of the re-caning process is to double up on each of the canes that I have already threaded. You can see in the picture below that I started at the left and worked in towards the centre, then moved over to the right and worked in towards the centre again.

Here’s the underside of the seat. The trick is to make sure you fill in all of the loops to keep it tidy. I also need to keep the canes as flat as possible to reduce bulk. Did you know canes have a top and a bottom side? The top side is rounded, so there’s an added element of care that needs to be taken to ensure that every cane I thread is facing the right way up.

The seat with all of its threads doubled up. Beginning to need lots of golf tees to keep the loose ends secure now.

Ready to start the weaving process! Here’s how I began my first line of weaving. I am using a caning needle to move the cane over, under, over, under, over, under (etc. etc.) the canes that are there.

I’m very proud of this. Only a million more lines of weaving to go.

…they find another hobby that takes more hours than they really have to spare while they wait for Christmas and spangly new sewing machines that will quilt.
This is my great-grandfather’s chair. It needs a little love and lots of attention, so I’m going to restore it. For a piece of furniture that is about 150 years old, it’s in pretty good condition. It needs re-caning (perhaps that’s obvious); having its wobbly legs seen to and a bit of polishing. I am under no illusions that that little list is going to take me a while to get through, not having much experience at all with furniture restoration.

BEFORE…
So far, I have removed the cane seat. I used a knife to take off the main seat area, then drilled out any remaining bits of cane and all the glue from the holes.

The cane has been well worn by my ancestors. I’ll keep hold of it to use as a guide for when I start re-caning.
The pattern is called Double Victoria and is not the easiest for a complete beginner to start with. Oh well, I managed a king-sized patchwork quilt top for my first quilting project. Caning is surely a similar test of patience and pattern-building?
I can’t wait to get going!

Because it's more complicated than that...
DIY-er who loves to redesign, repurpose, and reorganize just about everything.
Searching for the perfect quarter inch seam
My adventures in Quilting and Gardening
Searching for the perfect quarter inch seam
A great WordPress.com site
From Doodle to Design
The Misadventures of a Cheap Crafter
[noun, plural] A nicer way to say hand cramp, esp. from making things
Searching for the perfect quarter inch seam
I love to sew
by Jack Monroe, bestselling author of 'A Girl Called Jack'
Searching for the perfect quarter inch seam
The adventure of NikkiM
Searching for the perfect quarter inch seam
Searching for the perfect quarter inch seam
Sewing, knitting and general craftiness!
with a world to discover
Searching for the perfect quarter inch seam
